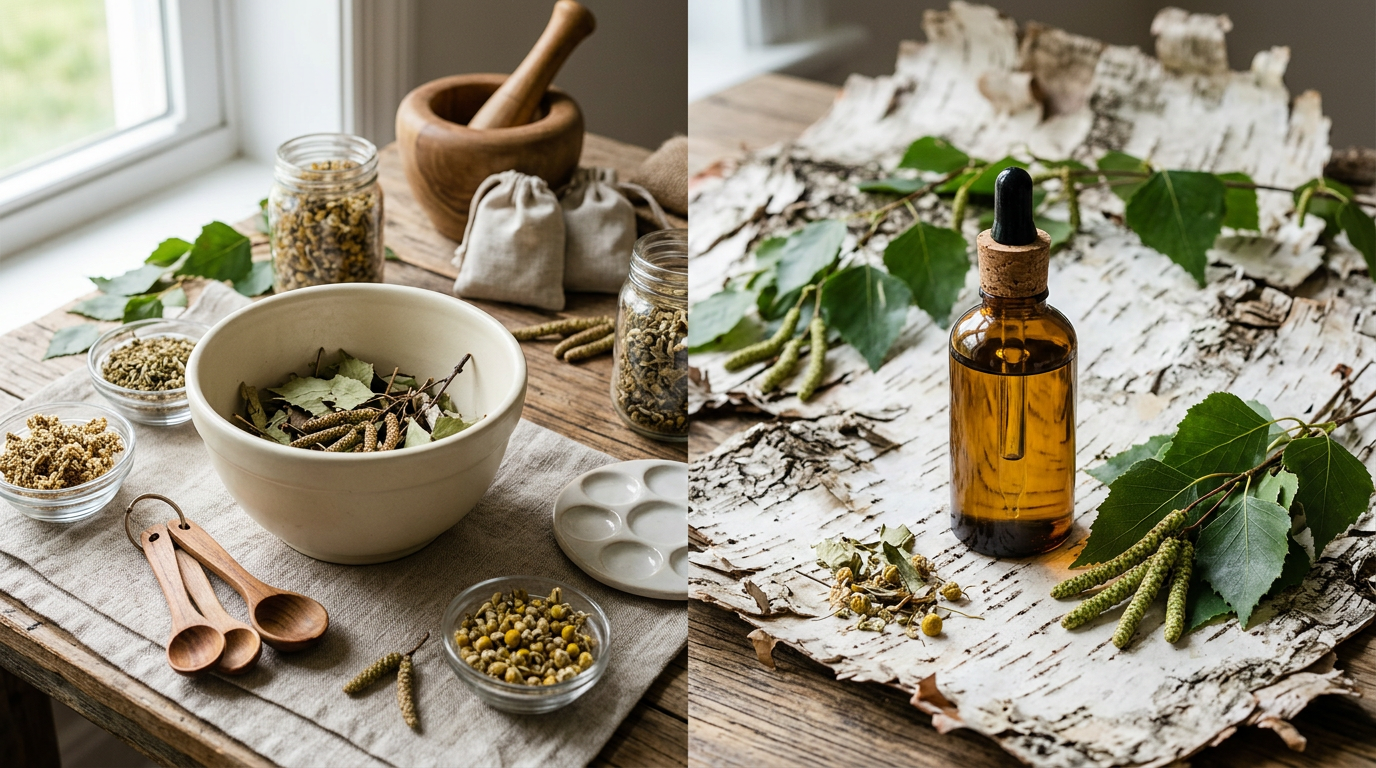
DIY Birch Essential Oil Wood Conditioner for Furniture and Tools
There is something satisfying about rubbing a little oil into a tired wooden surface and watching the grain wake back up. This DIY birch wood conditioner recipe pairs the warm, slightly sweet, woodsy-mint aroma of birch essential oil with carrier oils and beeswax to make a simple paste you can work into furniture, cutting boards, tool handles, and workshop surfaces. It is not a substitute for structural wood repair or a commercial sealant on outdoor pieces, but for everyday indoor wood care, it is an easy weekend project that costs a fraction of store-bought polish.
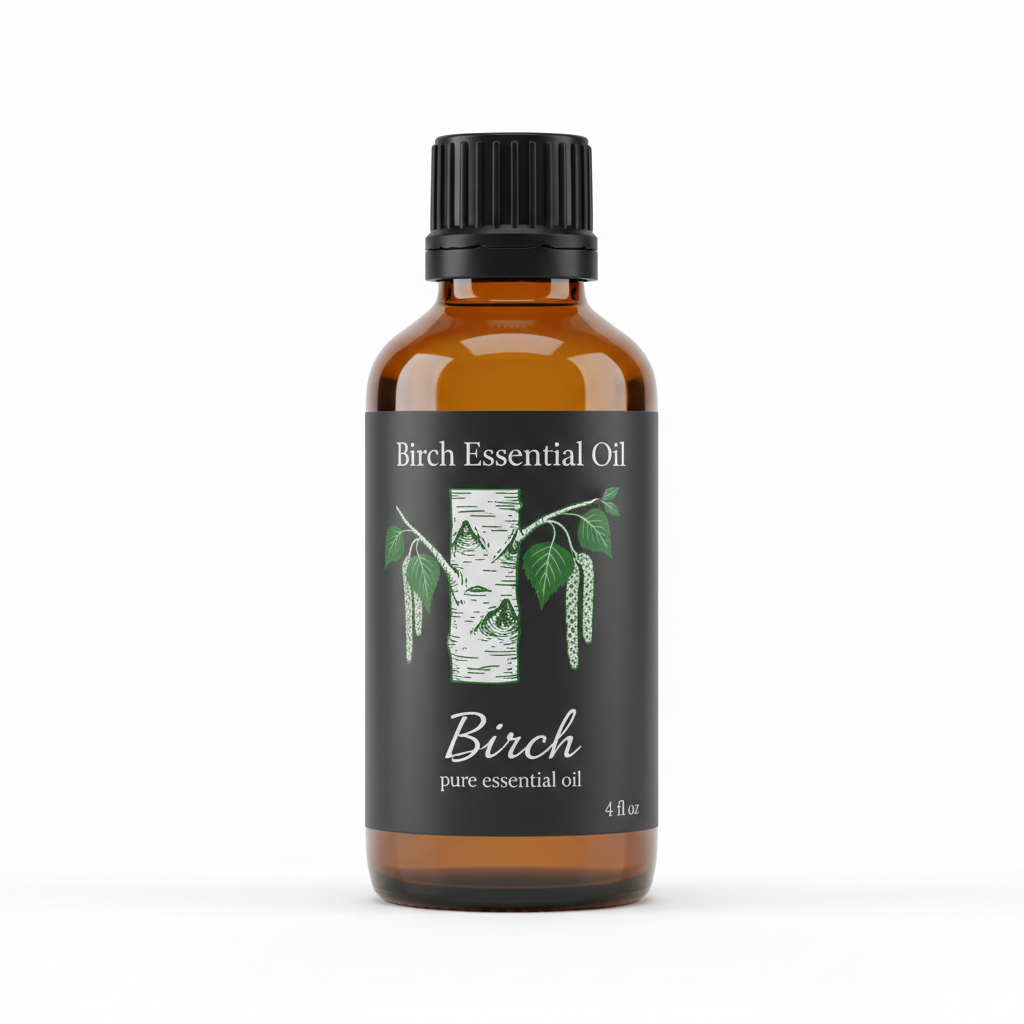
Below you will find the full ingredients list, step-by-step instructions, dilution guidance, storage tips, and a few variations depending on what you have in your pantry or workshop shelf.
Difficulty and Prep Time
- Difficulty: Beginner-friendly
- Active prep time: 10 to 15 minutes
- Cooling and setting time: 30 to 45 minutes
- Yield: About 4 ounces (one small tin or jar)
What You Will Need
Ingredients
- 2 ounces (about 4 tablespoons) beeswax pellets or grated beeswax
- 4 ounces (about 1/2 cup) carrier oil, such as jojoba, sweet almond, or fractionated coconut oil
- 15 to 20 drops birch essential oil (roughly a 1 to 1.5% dilution for this batch size)
- Optional: 5 drops cedarwood or sweet orange essential oil for a rounder scent layer
Tools
- Small glass double boiler or a heatproof glass measuring cup set inside a saucepan of water
- Wooden stir stick or an old metal spoon dedicated to project use
- A clean 4 ounce glass jar or metal tin with a lid
- Soft cotton cloths or an old T-shirt cut into squares
- Fine sandpaper (optional, for rough or previously unfinished wood)
A quick note on sourcing: because this recipe goes directly onto surfaces you touch daily, reach for a birch essential oil that lists its botanical source and distillation method on the label. Vague sourcing is one of the more common shortcuts in the essential oil market, and it is worth the extra minute to check before you buy.
Step-by-Step Instructions
- Set up a double boiler. Fill the saucepan with an inch or two of water and bring it to a gentle simmer. Place the glass measuring cup or double boiler insert on top, making sure the bottom does not touch the water directly.
- Melt the beeswax. Add the beeswax pellets to the glass container and let them melt slowly, stirring occasionally. This usually takes 5 to 8 minutes depending on your pellet size.
- Stir in the carrier oil. Once the wax is fully melted, remove the container from heat and pour in the carrier oil. Stir until the mixture is smooth and fully combined. The wax will want to seize slightly when the cooler oil hits it, so keep stirring until it evens out.
- Cool briefly before adding essential oil. Let the mixture sit for 2 to 3 minutes so it is warm but not hot. Adding essential oil to a very hot base can cause some of the aromatic compounds to evaporate off before you even get the lid on the jar.
- Add the birch essential oil. Drop in the birch oil (and any optional cedarwood or sweet orange) and stir well to distribute it evenly through the wax and oil base.
- Pour into your jar or tin. Work quickly here, since the mixture starts to firm up as it cools. Pour into your container and let it sit undisturbed at room temperature for 30 to 45 minutes, or until it has set into a soft, spreadable paste.
- Label the jar. Write the date and ingredients on the lid or a small sticker. Homemade blends do not come with a printed label, and it is easy to forget what is in a jar six months from now.
Safety Considerations Before You Start
Birch essential oil is aromatically potent and chemically concentrated, so a little goes a long way. Please read through these points before your first batch and before your first use on any surface you will handle often.
- Dilution matters. This recipe calls for roughly a 1 to 1.5% dilution in the finished wax and oil base, which is appropriate for a wood care product that hands will contact. Do not increase the essential oil amount hoping for a stronger scent or faster results. More concentrated is not better here, and it raises the chance of skin sensitivity with repeated contact.
- Patch test first. Before using the finished conditioner on a piece of furniture you care about, or before letting your hands rest in it for extended periods, apply a small amount to a discreet patch of skin, such as the inside of your forearm, and wait 24 to 48 hours to check for any reaction. Do the same on a hidden corner of the wood itself, since some finishes and stains react differently to oil-based products.
- Ventilate the room. Birch essential oil has a strong, distinctive aroma. Work in a room with good airflow, especially while melting the wax and stirring in the oil.
- Keep away from children and pets. Store the finished conditioner and the raw essential oil bottle somewhere children and animals cannot reach them, and keep freshly conditioned wood surfaces out of paws' and hands' reach until fully absorbed.
- Consider your personal circumstances. If you are pregnant, nursing, managing a diagnosed condition, or have known sensitivities to essential oils, speak with a qualified healthcare provider before regularly using this or any essential oil blend, including on surfaces you will touch often.
- This is a cosmetic wood care product, not a wellness product. This recipe and its ingredients are intended for surface care and fragrance only. It is not intended to diagnose, address, or otherwise act on any condition of the body, and it should never replace guidance from a qualified healthcare provider.
A general rule for essential oils in leave-on applications: start low, patch test, and increase only if the diluted version genuinely feels too mild for your purposes.
How to Use It on Furniture and Tools
Once your birch oil furniture polish has set, application is straightforward:
- Scoop a small, dime-sized amount onto a soft cloth.
- Rub it into the wood grain in the direction of the grain lines, using light, even pressure.
- Let it sit for 5 to 10 minutes so the oils can absorb into the wood fibers.
- Buff with a clean, dry section of cloth until the surface feels smooth rather than greasy.
- For tool handles, work the conditioner in with your fingers, then wipe away any excess before storing the tool.
This blend works well on unfinished or lightly finished wood such as cutting boards, wooden spoons, tool handles, workbenches, and older furniture with a worn patina. It is not designed for surfaces with a modern polyurethane or lacquer topcoat, since the oil has nowhere to absorb and will just sit on top as a residue. If you are unsure what finish a piece has, test an inconspicuous spot first.
Storage and Shelf Life
Store your finished birch essential oil wood care blend in a sealed glass jar or metal tin, away from direct sunlight and heat sources. A cool cupboard or workshop drawer works well.
- Shelf life: Roughly 6 to 9 months, depending on the carrier oil used. Jojoba oil has excellent stability and can push that window closer to a year; sweet almond or coconut oil bases tend to sit at the shorter end.
- Signs it is past its prime: A sour or rancid smell replacing the woodsy scent, a change in color, or a grainy, separated texture are all signs to discard the batch and mix a fresh one.
- Keep the lid on tight between uses to slow oxidation and prevent the essential oil's aroma from fading prematurely.
Variations and Substitutions
This workshop wood conditioner recipe is flexible. A few ways to adjust it:
- Carrier oil swap: Jojoba oil is technically a liquid wax and has the longest shelf life, making it a strong pick if you want a batch that lasts. Sweet almond oil gives a slightly richer feel. Fractionated coconut oil is budget-friendly and stays liquid at room temperature, which can make for a slightly softer final paste.
- Harder or softer paste: Add a bit more beeswax for a firmer balm that is easier to control on vertical surfaces, or slightly less for a softer, more spreadable texture suited to flat tabletops.
- Scent layering: Birch pairs nicely with cedarwood, sweet orange, or a small amount of pine for a fuller workshop-shed aroma. Keep any additional essential oil within the same overall dilution range rather than adding it on top of the birch amount.
- Tool-specific batch: For hand tools that see heavy daily use, consider dropping the birch essential oil down toward the lower end of the range (around 10 to 12 drops per this batch size) since hands will contact the surface more frequently than with furniture.
- Unscented base for testing: If you want to confirm the wax-to-oil ratio works for your specific wood before adding any fragrance, make a small test batch with no essential oil at all, then scale up once you are happy with the texture.
A Few Final Notes
Homemade wood care blends reward patience more than speed. Let each coat absorb fully before deciding whether a piece needs a second pass, and resist the urge to load on more product than the wood can actually take in. Over time, a light, regular routine with a birch essential oil wood care blend tends to keep grain looking fed and surfaces feeling smooth, without the heavier build-up that some commercial polishes leave behind.
Keep good records of your ratios and dates, especially if you plan to make this a recurring workshop staple. A small notebook near your supplies, noting which carrier oil and dilution you used and how it performed, will save you from repeating the same trial-and-error batch twice.