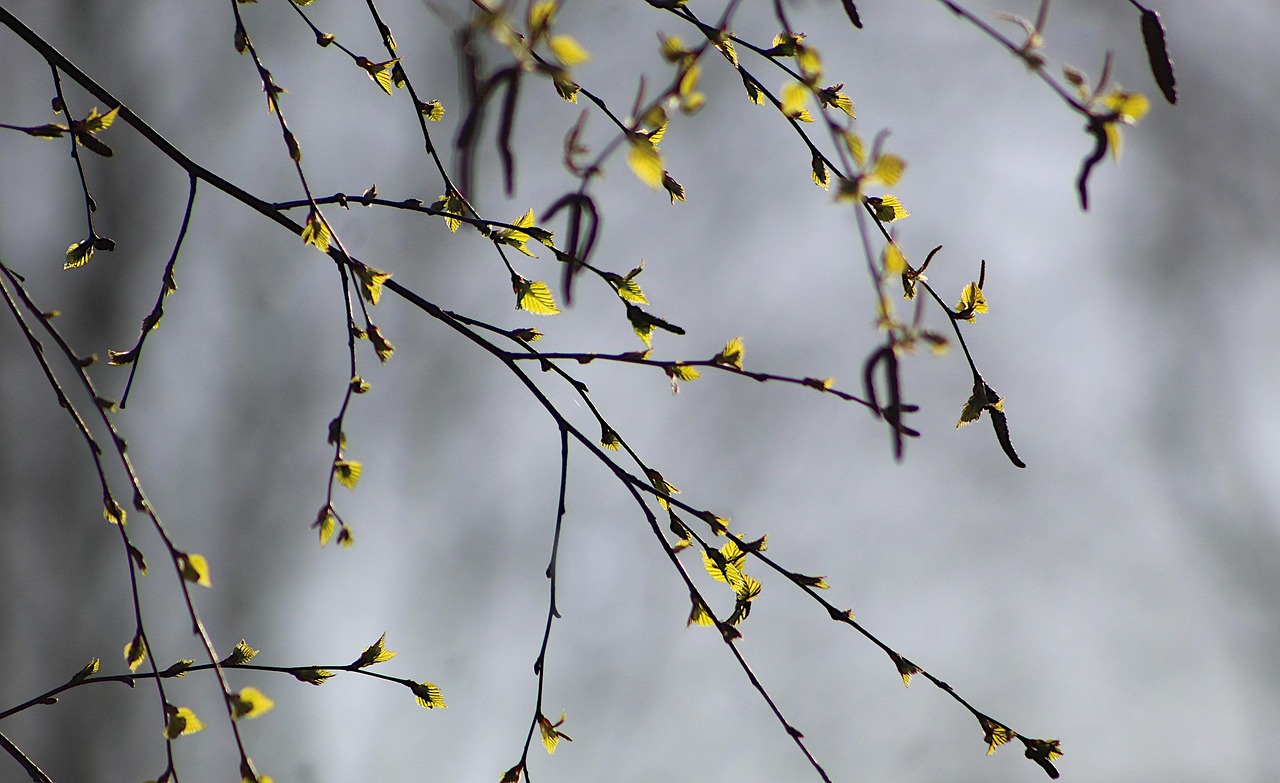
White Birch and Birch Wood Scents for Candles and Soap
There is something genuinely transporting about a birch-forward scent. It reads as clean without being clinical, woody without being heavy, and fresh without leaning synthetic. Whether you are pouring a batch of soy candles or swirling a cold-process soap loaf, choosing the right birch soap scent or white birch fragrance oil can give your finished product that unmistakable forest-edge quality that keeps people coming back.
This guide walks you through two complete projects: a birch-scented container candle and a simple birch-accented melt-and-pour soap bar. Both are beginner-accessible, though experienced makers will find useful troubleshooting notes along the way.
Understanding Birch Fragrance Profiles Before You Buy
Not all birch fragrance oils behave the same way, and the label matters more than most makers realize. White birch fragrance oil tends to lean airy and slightly sweet, capturing the pale, papery quality of birch bark with subtle green and aquatic undertones. Birch wood fragrance oil, by contrast, sits deeper in the olfactory palette: more resinous, with warm woody base notes and sometimes a faint smokiness reminiscent of dried heartwood.
For candles, birch wood fragrance oil performs beautifully as a standalone or as the anchor in a blend. For soap, white birch fragrance oil tends to be the more crowd-pleasing choice because its lighter top notes survive the saponification process better. That said, rules are made to be tested, and your nose is the final authority.
Curious about how birch fits into the broader world of fragrance construction? Our deep-dive on birch in perfumery covers the full aromatic landscape, from distillation methods to blending philosophy.
Project One: White Birch Container Candle
Materials and Ingredients
- 8-ounce heat-safe glass jar (clear mason jars or apothecary-style jars both work well)
- 8 ounces of soy wax flakes (a coconut-soy blend also works; avoid paraffin if you want a cleaner cold throw)
- 0.8 ounces (approximately 10% of wax weight) of white birch fragrance oil or birch wood fragrance oil
- One pre-tabbed cotton wick sized for your jar diameter (CD-18 or ECO-10 are common starting points for an 8-ounce jar)
- Wick centering tool or two pencils and a rubber band
- Double boiler or a pouring pitcher set inside a pot of water
- Candy or candle thermometer
- Kitchen scale (weight measurements are essential; volume is not reliable for wax)
- Stirring spatula, heat-safe
- Optional: a small amount of dried birch bark shavings or a few birch leaves pressed under the glass exterior for visual styling
Step-by-Step Instructions
- Prepare your jar and wick. Wipe the inside of your jar with a lint-free cloth. Adhere the wick tab to the bottom center of the jar using a dab of hot glue or a wick sticker. Thread the wick through your centering tool and rest it across the jar opening so the wick stands upright. Set aside.
- Melt the wax. Measure 8 ounces of wax flakes by weight and place them in your pouring pitcher or the top of your double boiler. Heat the water beneath it over medium heat. Stir the wax occasionally as it melts. Most soy waxes are fully liquid between 170°F and 185°F (76°C to 85°C). Do not leave melting wax unattended.
- Check your temperature before adding fragrance. This is the step most beginners rush. Remove the pitcher from heat and allow the wax to cool to around 160°F to 165°F (71°C to 74°C). Adding fragrance oil at too high a temperature can cause it to flash off, leaving you with a weaker scent throw. A thermometer is not optional here.
- Add the fragrance oil. Measure 0.8 ounces of your chosen birch fragrance oil by weight. Pour it into the wax and stir slowly but thoroughly for at least two full minutes. You want the oil fully incorporated, not just swirled on top. The mixture should look uniform and slightly translucent.
- Pour the candle. When the wax has cooled further to around 135°F to 145°F (57°C to 63°C), pour it carefully into your prepared jar, leaving about half an inch of space at the top. Pour steadily to avoid air bubbles. Keep your wick centered.
- Allow to cure undisturbed. Let the candle sit at room temperature for at least 24 hours. Do not move it, cool it in a refrigerator, or disturb the surface. Soy wax can develop a frosted appearance if cooled unevenly. Some makers do a second pour to fill any sinkholes that form around the wick as the wax contracts.
- Cure before burning. Trim the wick to one quarter inch. For the best cold throw and hot throw, allow the candle to cure for 48 to 72 hours before lighting. Soy wax benefits especially from this resting period.
Tips and Common Mistakes to Avoid
- Fragrance load matters. Most soy waxes accept between 6% and 10% fragrance by weight. Going above 10% risks seepage or poor adhesion to the jar sides.
- Birch wood fragrance oil can be polarizing on cold sniff. It often smells sharper and more resinous straight from the bottle than it does when burning. Trust a test burn before deciding it is too strong.
- Wick sizing is trial and error. If your first test candle tunnels (burns only in the center), go up a wick size. If it produces excessive black soot or a very large flame, size down.
- Blending suggestion: A small addition of cedarwood or fir needle fragrance alongside white birch fragrance oil creates a fuller, more complex woodland atmosphere. Start with 70% birch and 30% secondary note, then adjust to your preference.
For more layered blending ideas that feature birch alongside coniferous notes, see our guide to Northwoods diffuser blends. Many of those ratios translate directly into candle blends.
Project Two: Birch-Scented Melt-and-Pour Soap

Melt-and-pour is a forgiving format, which makes it a smart starting point for anyone new to the birch soap scent world. You skip the lye handling of cold process while still producing a genuinely handcrafted bar with a beautiful scent profile.
Materials and Ingredients
- 16 ounces of melt-and-pour soap base (a shea butter or goat milk base pairs nicely with birch's freshness; clear glycerin also works if you want to embed botanicals)
- 0.48 ounces (approximately 3% of base weight) of white birch fragrance oil
- Soap mold: a silicone loaf mold or individual bar cavities
- Microwave-safe glass measuring cup or double boiler
- Isopropyl alcohol (91% or higher) in a small spray bottle
- Stirring spoon or spatula
- Optional: a pinch of white mica or titanium dioxide for a pale, bark-like appearance; dried birch leaf powder or ground oat for texture
- Optional: small strips of actual birch bark to press against the exterior of finished bars for photography and display (not embedded inside)
Step-by-Step Instructions
- Cut and melt the base. Cut your soap base into roughly one-inch cubes. This helps it melt evenly. Place the cubes in your glass measuring cup and microwave in 30-second bursts, stirring between each interval. Stop as soon as the base is fully liquid. Overheating causes bubbling and a pitted surface on the finished bar.
- Let it cool slightly. Check the temperature. You want the melted base to drop to around 130°F to 140°F (54°C to 60°C) before adding fragrance. Hot bases can cause some fragrance oils to accelerate (thicken rapidly) or ruin their more delicate top notes.
- Add your fragrance oil. Measure 0.48 ounces of white birch fragrance oil. Pour it into the base and stir gently. Avoid vigorous stirring, which incorporates air and creates bubbles on the finished surface. Stir for about 60 seconds until fully combined.
- Add colorant if desired. If using titanium dioxide for a white finish, mix a small amount (about a quarter teaspoon per pound of base) into a teaspoon of glycerin first to avoid clumping. Stir it into the soap base after the fragrance.
- Pour into molds. Pour the mixture slowly into your mold. Immediately spritz the surface with isopropyl alcohol. This breaks surface bubbles and gives you a smooth, professional-looking top.
- Allow to set. Let the soap cool at room temperature for at least two to four hours. You can place it in the refrigerator for 30 minutes to speed unmolding, but do not freeze it. Melt-and-pour soap sweats in high humidity after refrigeration, so bring it to room temperature before packaging.
- Unmold and slice. Once fully firm, unmold the loaf and slice into bars approximately one inch thick. A chef's knife with a gentle rocking motion gives cleaner cuts than sawing. Allow bars to air out on a rack for 24 hours before wrapping.
Tips and Common Mistakes to Avoid
- Fragrance acceleration. Some birch wood fragrance oils contain components that cause melt-and-pour to thicken fast. Have your mold ready and pour quickly if you notice the mixture starting to set in the cup.
- Scent fade in soap. White birch fragrance oil tends to hold well in melt-and-pour because there is no saponification process affecting the scent molecules. Even so, wrapping finished bars in plastic wrap or shrink wrap slows scent evaporation during storage.
- Embedding botanicals. If you want to embed dried birch leaves or bark powder in the soap, use only cosmetic-grade or thoroughly cleaned botanicals. Some plant materials discolor or turn brown in soap over time.
- Fragrance load for soap. The generally accepted guideline for melt-and-pour is 1% to 3% fragrance by weight. Exceeding 3% can cause separation, a greasy feel, or skin sensitivity. Always check the specific fragrance supplier's recommended usage rate for their oil.
Scent Pairings: Building a Birch Collection
Once you have the base projects dialed in, consider developing a small cohesive line. A few starting points:
| Primary Note | Complementary Addition | Suggested Ratio | Best Format |
|---|---|---|---|
| White birch fragrance oil | Eucalyptus or spearmint | 80:20 | Soap, room spray |
| Birch wood fragrance oil | Vetiver or patchouli | 70:30 | Candle, wax melt |
| White birch fragrance oil | Fir needle or spruce | 75:25 | Candle, diffuser |
| Birch wood fragrance oil | Bergamot or green tea | 65:35 | Soap, linen spray |
The smokier, more complex side of birch has a long history in classic fragrance composition. If that direction interests you, our article on birch tar in perfumery explores how darker birch extracts anchor leather accords and why they remain relevant in contemporary fragrance work.
Packaging and Presentation Notes

The visual language of birch translates beautifully into product packaging. Cream and white labels with black serif fonts echo the contrast of birch bark. Kraft paper with a simple twine tie reads as appropriately rustic. A small pressed birch leaf or a curl of birch bark tucked under the label ribbon adds a tactile, botanical dimension that customers notice.
For candles, consider labeling the fragrance notes directly on the jar: top notes, middle notes, base notes. It invites curiosity and helps buyers understand why birch wood fragrance oil smells different from white birch fragrance oil, even when they look like similar products on a shelf.
For soap, keep ingredient lists complete and accurate. List your fragrance oil as "fragrance" or by its INCI name per your supplier's documentation. Buyers who seek out a genuine birch soap scent appreciate transparency about what they are actually getting.
A Note on Sourcing Quality Fragrance Oils
The gap between a good birch-scented product and a forgettable one often comes down to the fragrance oil itself. Look for suppliers who provide IFRA compliance documentation, usage rate recommendations by application type, and clear labeling about whether the oil is designed for leave-on products (soap, lotion) versus rinse-off or heated formats (candles, wax melts). Some birch fragrance oils are formulated for candle use only and may cause skin sensitivity if used in soap above very low concentrations.
Request samples before committing to a large quantity. A white birch fragrance oil that smells perfect in the bottle may perform very differently in a burning candle or a lathering soap bar. Small-batch testing is always worth the extra time before a full production run.